
This post is brought to you buy I Love to Create and Blueprint Social
I always seem to have an over abundance of party ideas for the little kids but the big kids.....well not necessarily so much. What kid doesn't love tie-dye though? A tie-dye themed birthday is the perfect idea for a summer birthday, no matter your age! Honestly, I think hubby (who also has a summer birthday) would have loved this as much as the kids did. We coupled our Tie Dye Party with a sleepover and made the take home party favors these Tie Dye Pillow Cases. Sound like fun? All you need is a Tulip One Step Tie-Dye Kit and some 100% cotton white pillow cases (which you can pick up at pretty much any department store). 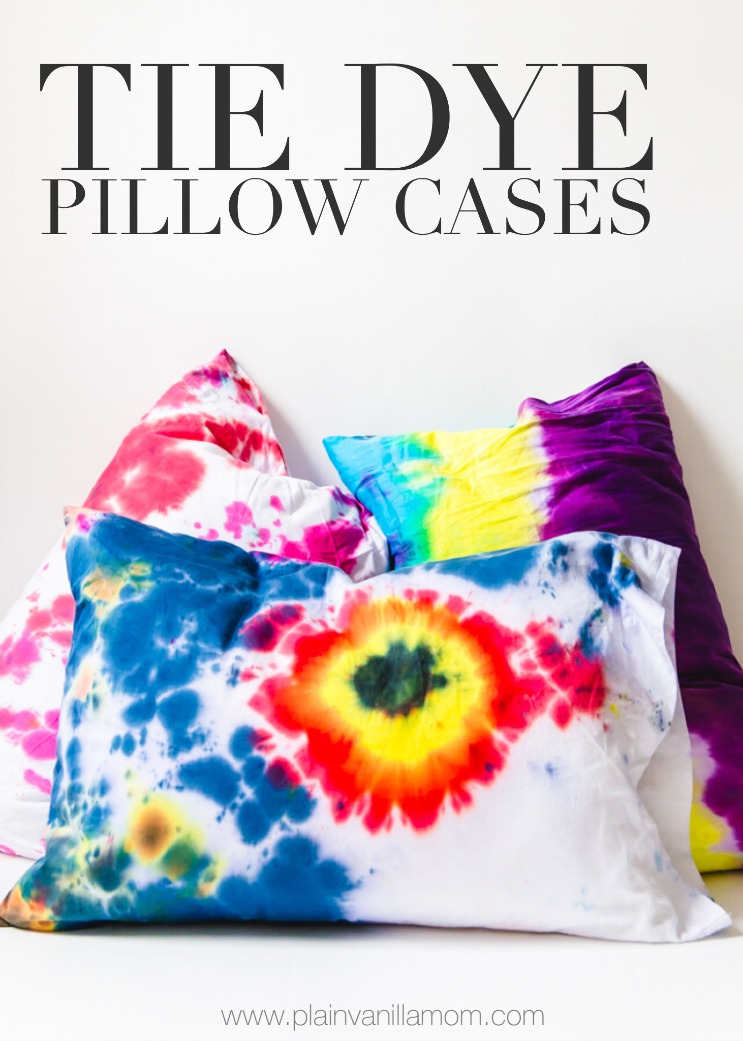
(This post contains affiliate links for your convenience. Full disclosure policy here. Thank you for your support.)
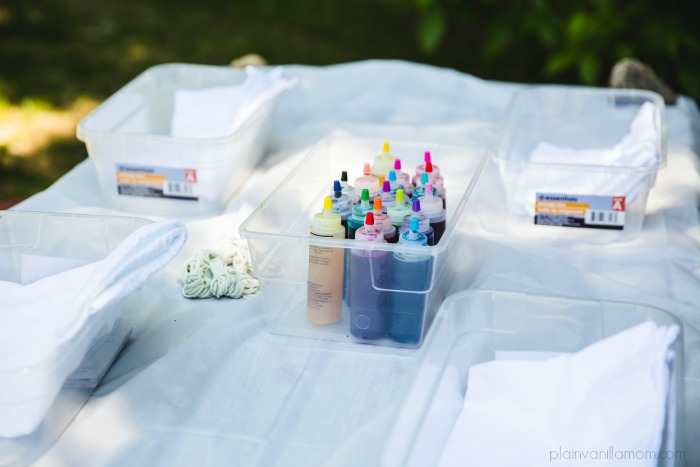
The Tulip One Step Tie-Dye kit made the tie-dye part easy. First of all the kit has everything in it needed to set up a rocking tie-dye station. 18 bottles of dye (that you just have to add water to, shake and go), gloves (very important), elastics and even a table cover. Just provide your white stuff, in our case pillow cases, and your set. 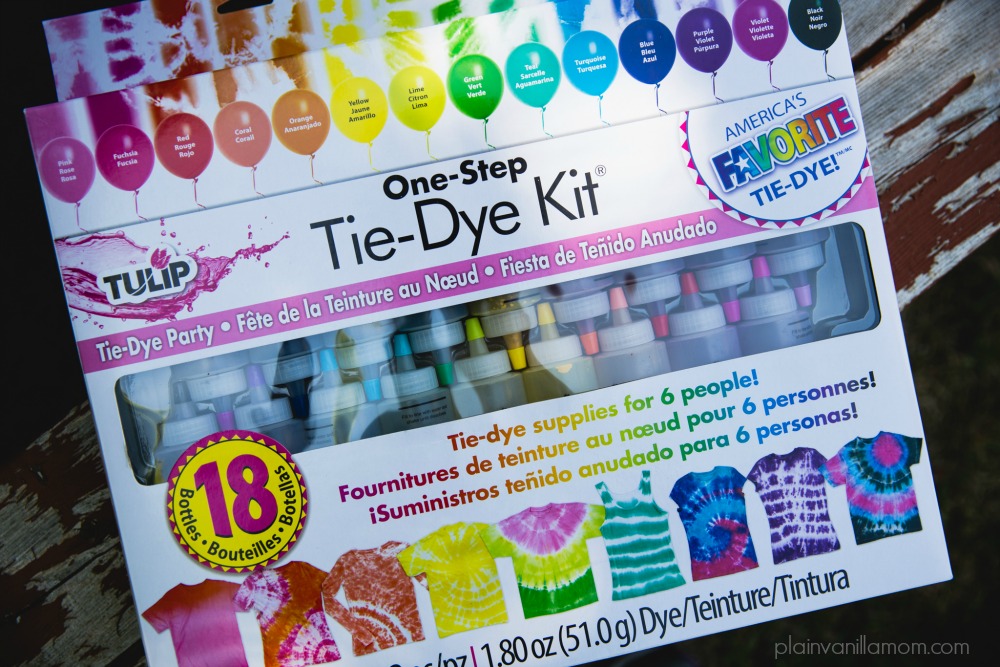
 We've tie dyed in the past but honestly it was not this easy. I was most excited to see that Tulip Tie-Dye was really truly one step tie-dying. No soaking in soda ash or anything like that and the colors and results were just amazing! We had enough dye that everyone ended up dying both a t-shirt and a pillow case. (hint: if you buy size L adult tshirts - or tshirts that are significantly bigger than your kids - they can double as nightshirts keeping with the sleepover theme). Tuplip even made the party decorating easy with their free downloadable party printables! The banner, cupcake wrappers, signs and more made everything feel just a little more thematic and festive. I personally loved the photo booth props too, as did little brother :)
 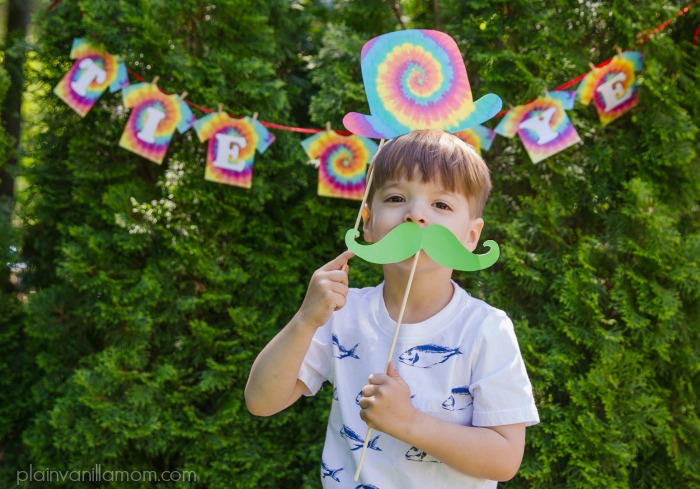 And of course you can't have a tie-dye sleepover party without a tie-dye cake :) Hubby's the cake boss at our house so he gave his best shot at a tie-dye themed cake.
 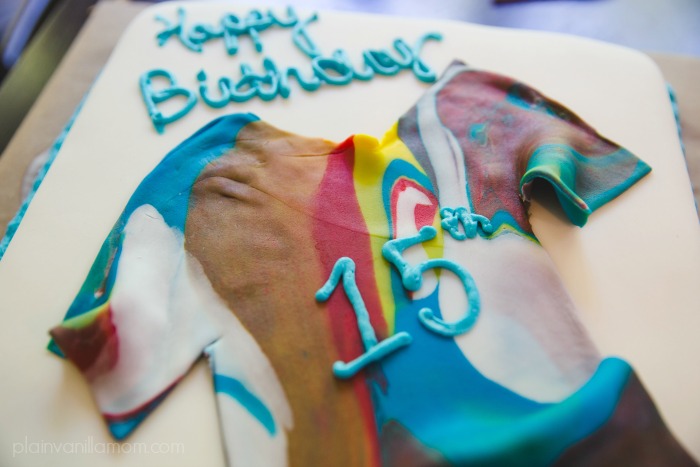 So now that you have the nitty gritty on the party, here's the fun part. It's time to tie-dye our pillow cases! First! Knot up your pillow cases any which way you can. We found the more knots the better so twist, tie, scrunch and put those elastics on tight!
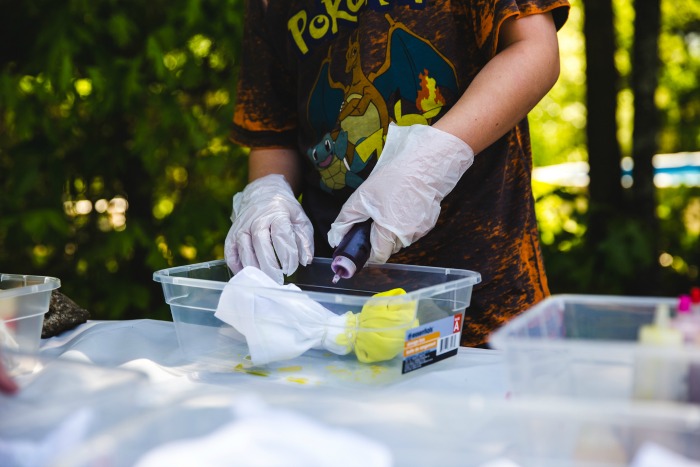
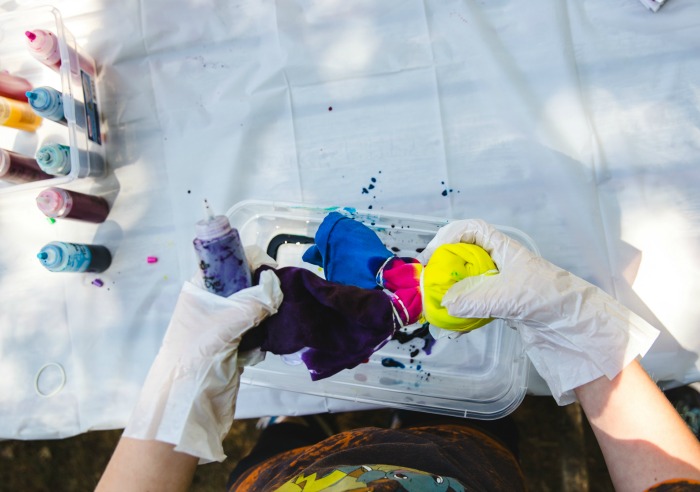
 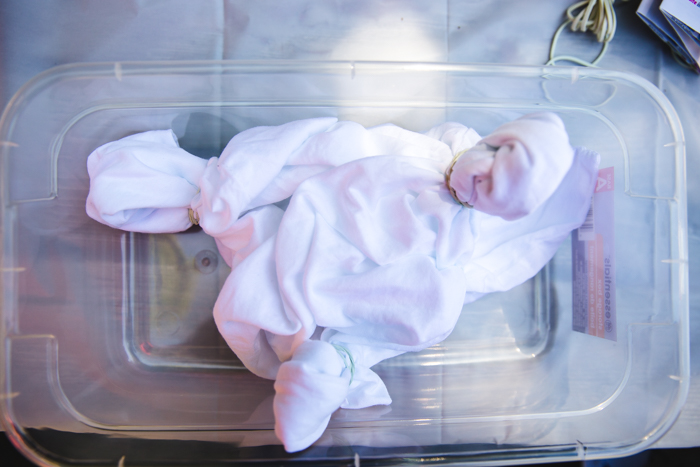 Next, grab a bottle (or two, or three or four) of Tulip One Step The-Dye and get creative. Honestly, let loose here there's no wrong way.
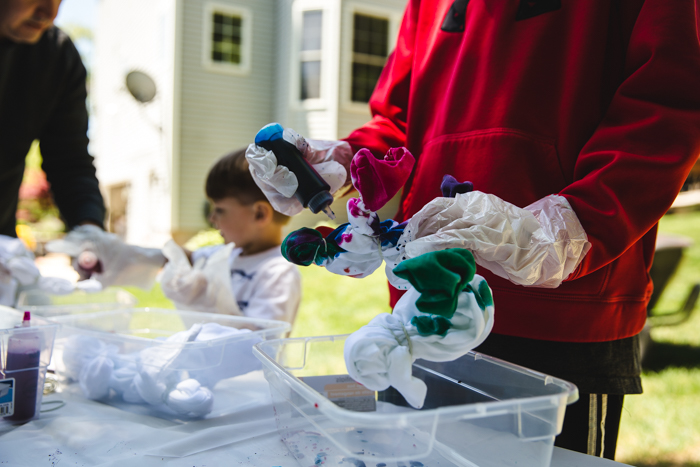
 Third, bag up your tie-dye items and let them set. The longer the better. The instructions recommend 6-8 hrs. We ended up leaving ours on overnight and rinsing them out the next morning but I think it would be super cool if you timed it so that the pillow cases were actually complete, washed and dried in time for the kids to use them to sleep that night. If you don't want to commit to doing that much rinsing and laundry... don't! You can download these awesome care instruction cards to tape to the bags and send them home.
 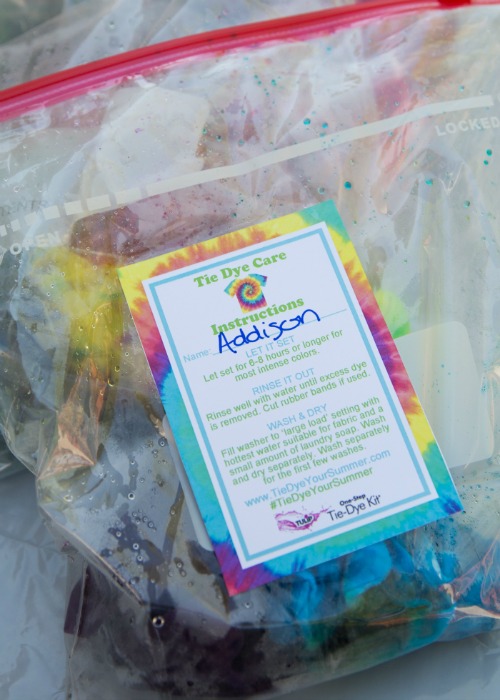 Either way, lastly rinse out the pillow cases, cut the elastics off and wash and dry each pillow case separately. These pillow cases were a HUGE hit! Half the fun for everyone was cutting the elastics off and seeing what exactly their design looked like. In fact, seeing as that is the best part I'm going to do things a little differently and let you watch it in this (very) short little video clip. Please humor me, my latest addiction is making these little videos for my family and I'm still learning. Oh yea....and hubby thought it would be funny to include a little bit of me trying to photograph my own self rinsing out a shirt for you ;) [video width="640" height="360" mp4="/uploads/2015/06/Tie-Dye-Reveal-.mp4"][/video] Ok that was almost too much fun for one post! Did I mention my kids are all ready to tie-dye again? Just a couple last tips before I go. Save at least one pair of gloves for rinsing your items off. I forgot and ended up using plastic sandwich bags on my hands the next day to protect them from getting stained with dye. (Worked totally fine by the way). I also picked up plastic shoe boxes at the dollar store for the kids to tie-dye their items in/over. I think it really cut down on the mess by helping to catch the excess dye and keep it off the table. That's it! Now go #TieDyeYourSummer! Thank goodness it's finally here! For more Tulip One Step Tie-Dye Inspiration visit I Love to Create here:
- Facebook: http://facebook.com/lovetocreate
- Twitter: http://twitter.com/ilovetocreate
- Pinterest: http://pinterest/ilovetocreate.com
- Instagram:http://instagram.com/ilovetocreate
- Tumbler:http://tumblr.com/ilovetocreate
- Google+: https://plus.google.com/+Ilovetocreate
- YouTube: https://www.youtube.com/user/DuncanCrafts