
I thought it might be fun since I like to bake to try and organize my baking into a series. We'll call it Sweet Sundays. (At least for now). My thoughts will be turning to gardening and planting soon so we'll see how the baking holds up... I certainly won't get back into my pre-baby shorts if I keep cooking like this! Anyhow, we'll give it a whirl and see how it goes. Do let me know if you like it or not.
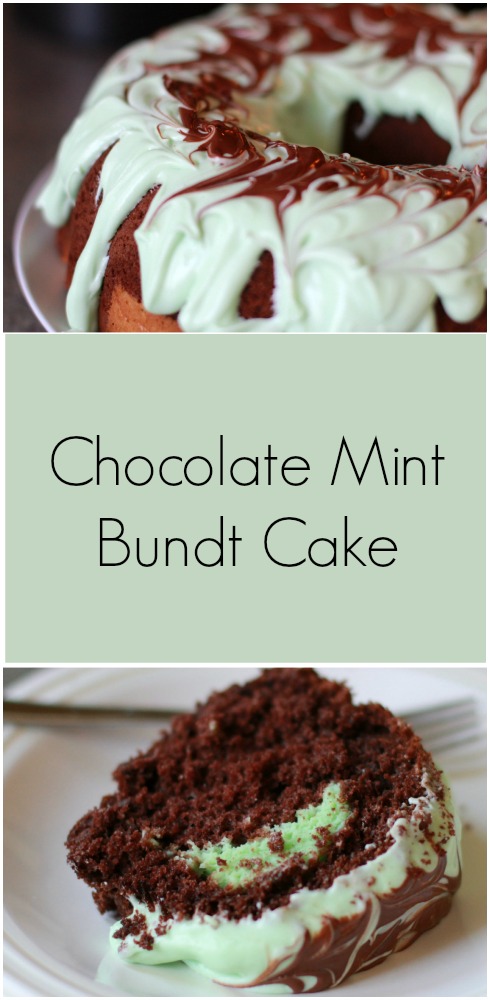 I found this particular recipe back around St. Patrick's Day but to be honest I baked so much mint/chocolate food I was all minted out so I never made it. I stumbled across this pin on one of my boards the other day and haven't been able to get it out of my mind since. A serious craving had kicked in! I waited the appropriate amount of days hoping the craving would go away but it didn't, so I caved, and made this Chocolate Mint Bundt. It was actually very easy to make and it is VERY yummy. Don't let all the steps overwhelm you, they are all very simple and in the end it's not very time consuming.

Here's the link to the original recipe from Betty Crocker and below is my version of it. I kept most everything the same. but used my own frosting recipe.
Preheat your oven to 325 degrees and grease and flour (or coat well with cooking spray) a bundt pan.
Mint Cream Cheese Filling
6 oz cream cheese (softened)
1/4 c sugar
1 TBSP all purpose flour
1 egg
1/8 tsp peppermint extract
3 drops of green food coloring
Beat cream cheese with an electric mixer on high speed until smooth and fluffy (couple of minutes should do) Then beat in remaining ingredients until the mixture is satiny smooth (a couple more minutes)
Cake
1 box devils food cake mix
1/3 c all purpose flour
1 c water
1/2 c melted butter
2 eggs
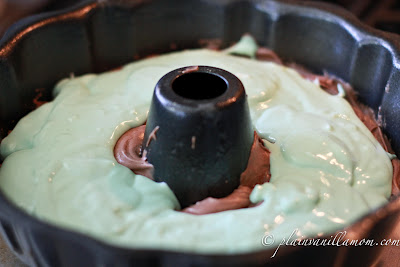
In a large bowl mix cake mix, flour, water, melted butter and eggs. Couldn't be easier, just throw it all in the bowl at once. Mix on low until combined (about 30sec) and then continue to mix on medium speed for 2 minutes. Pour into pan and then spoon the cream cheese filling over the batter.
It should look a little something like this...
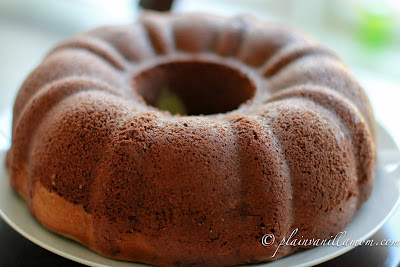
Bake at 325 degrees for 44-52 minutes (mine took 44). I always set my timer for the shortest amount of time to begin and increase only if necessary. Check it with a toothpick, if it comes out clean your done. Cool completely on a cooling rack before taking out of the pan. This should take at least an hour. Then you should have something that looks like this...
Mint Frosting & Chocolate Swirl 2 TBSP semi-sweet chocolate morsels 1 TBSP shortening Put those two ingredients in a microwave safe bowl. Microwave for 30 seconds on half power and stir. Continue in 30 second increments on half power until your chocolate melts, always stirring in between. (took me just about three cycles). Set this aside. Then you will need:
2oz cream cheese softened (I just used what was left over from the 8oz block of cream cheese I used for the filling)
3-4 TBSP butter softened
1 1/2 - 2 c powdered sugar
1/4 tsp peppermint extract
milk for thinning
green food coloring (3-4 drops)
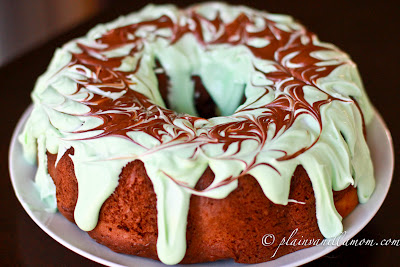
I'm sorry my frosting recipes are never an exact science. I always just tweak as I go along until I get what I'm looking for. Beat the cream cheese and the butter until smooth then add powdered sugar, peppermint extract, green food coloring and a little milk (2 tbsp maybe). Mix well. How thin you want the frosting is up to you. Just add more milk and continue to mix accordingly until you reach a consistency you like. If you get it too thin, add a little more powdered sugar. I wanted mine thin enough to make it look like I drizzled it but I didn't want it so thin it fell off the cake. (think thick milk shake consistency here). Spoon over your cake. Drizzle the melted chocolate in a circle over the top of your cake and then use a toothpick or the tip of a knife to swirl it around into the mint frosting.
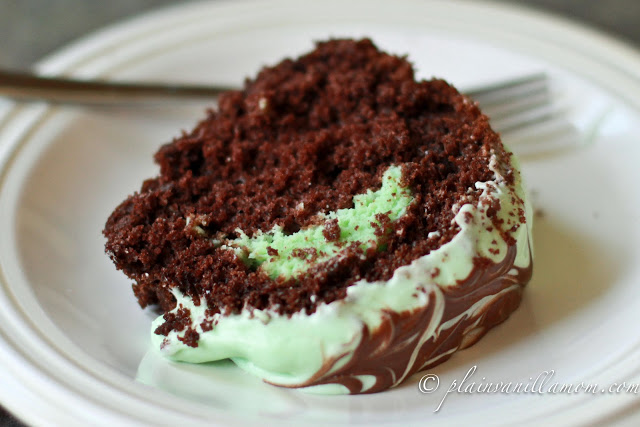
In the end you should have something that looks like this!
If you like this post be sure to Follow us on Facebook for more fun and ideas! This post was share on Nap Time Creations Tasty Tuesday Linky